—

Quick start: from nothing to a ranked upgrade list

Look up your character, review what the first import filled in, and read your first upgrade recommendations.

Covers Onboarding, Dashboard

Import your character

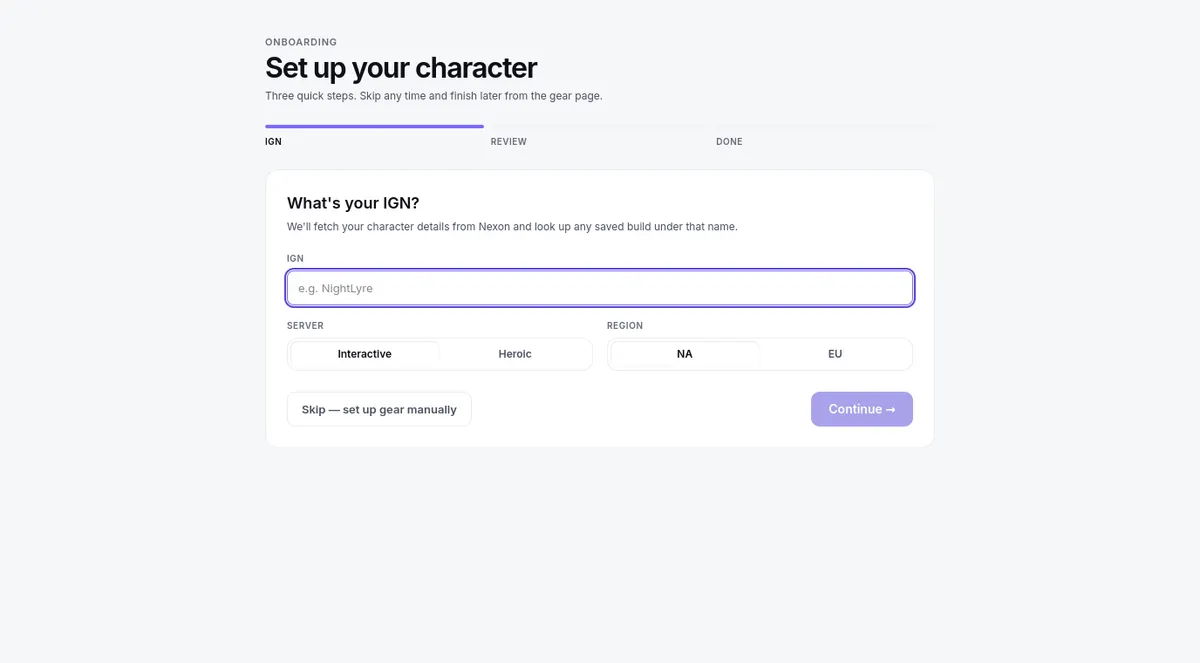
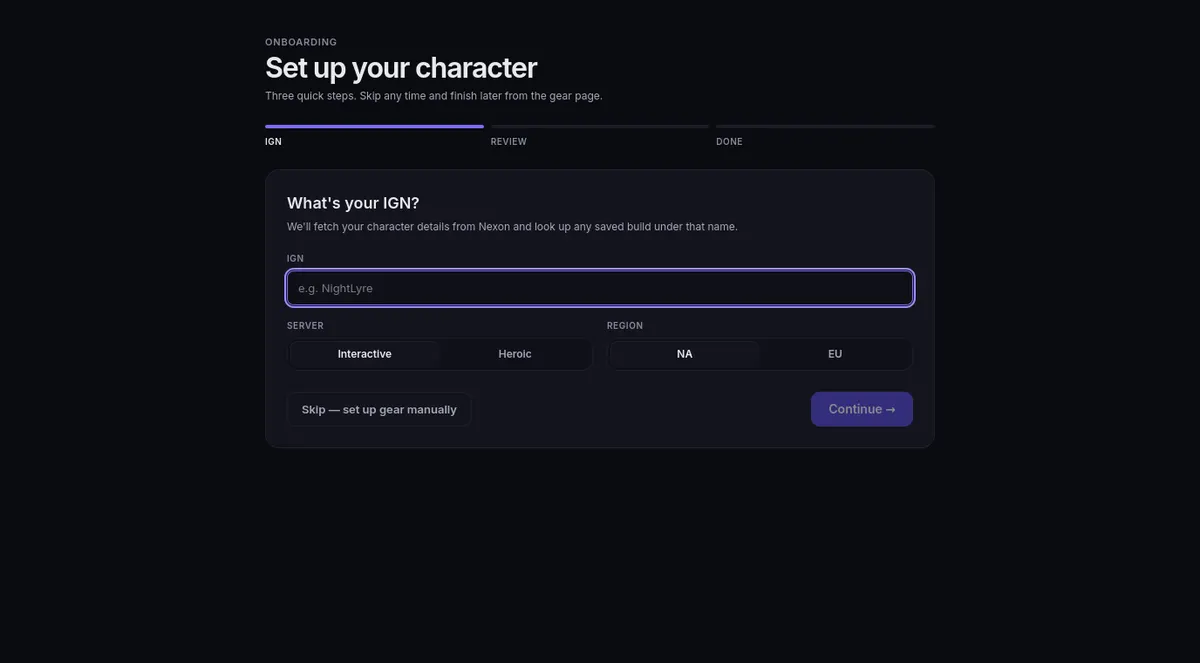
Onboarding asks for three facts up front: your IGN, your Server (Interactive or Heroic), and your Region (NA or EU). Fill them in and press Continue →, or choose Skip — set up gear manually.

Set up your character: the IGN box, Server and Region, Skip, and ContinueSet up your character: the IGN box, Server and Region, Skip, and Continue

  1. Continue looks the name up in Nexon's public character data, which supplies your level, class, and world.
  2. If Nexon lists a world type that differs from the Server you picked, the review step names both and says which one it used.
  3. It does not import your equipment or stat window — those stay yours to enter, and the next steps walk you through them.
  4. If the name cannot be found, use ← Back to fix the spelling, or continue with a preset or a blank build.

Once your build has an IGN, Auto-save to cloud is on by default: your build is written online about a minute after each edit.

Review, then adopt the build

The review step shows your character's level, class, and world before anything becomes your working build. If the tracker already holds a saved build under that name, you are offered Load saved build → — take it if the save is yours and up to date. The card warns you when the saved copy is older than the one on this device.

Otherwise pick one of three ways to fill in the rest:

  1. Import your stats from a screenshot — paste your in-game stat window or a MapleScouter page. It fills your stats (and your class and level when it reads them), but not your gear: gear starts empty and you add it on Gear.
  2. Start from a preset — pick your Class, then a progression milestone card. Verify every value it fills in against your own character before relying on it.
  3. Skip — fill gear in manually later — start with an empty build (a build already on screen for this IGN is kept), then enter it by hand as described in Character setup.

Finish with Open Dashboard → for recommendations straight away, or Track weekly income → to set up your week's meso picture first.

Read the dashboard

  1. Check Settings first: pick your server type, and set the prices and event toggles currently active in your world.
  2. Open the Dashboard. The top card shows your Hexa score — this site's power score — with a Details control for more. If the score shows a dash and a reason, fix the input it names; upgrade recommendations keep working.
  3. Best next upgrade names the top pick. Under Efficient upgrades, every row names the change, its Cost, its estimated FD Gain (Final Damage), and Meso / 1% FD, the figure the list is ranked by. Lower means cheaper damage.
  4. Read a row like this: a "2% FD gain" is an estimated 2% more damage than your current build — a relative improvement, not a promise about a specific hit.
  5. Use Add to planner on a row (pinned rows show Tracked) to sequence it against your budget in the Planner.
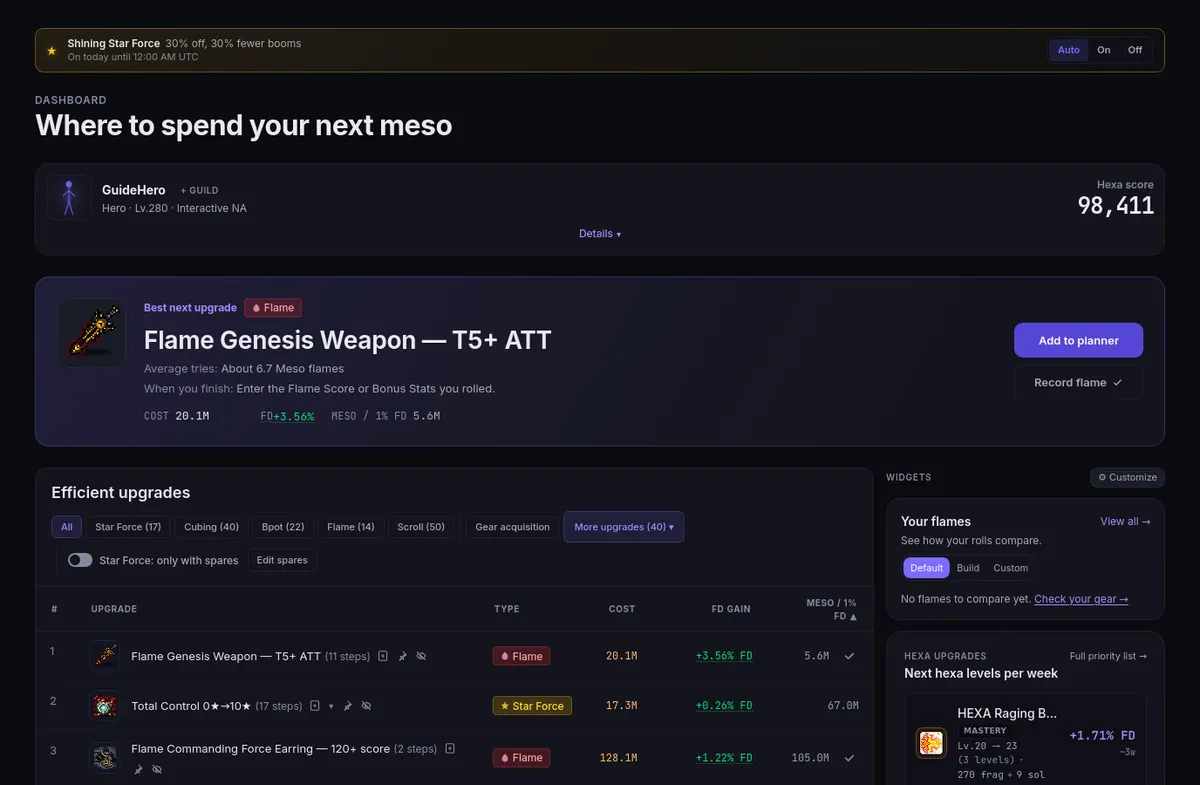
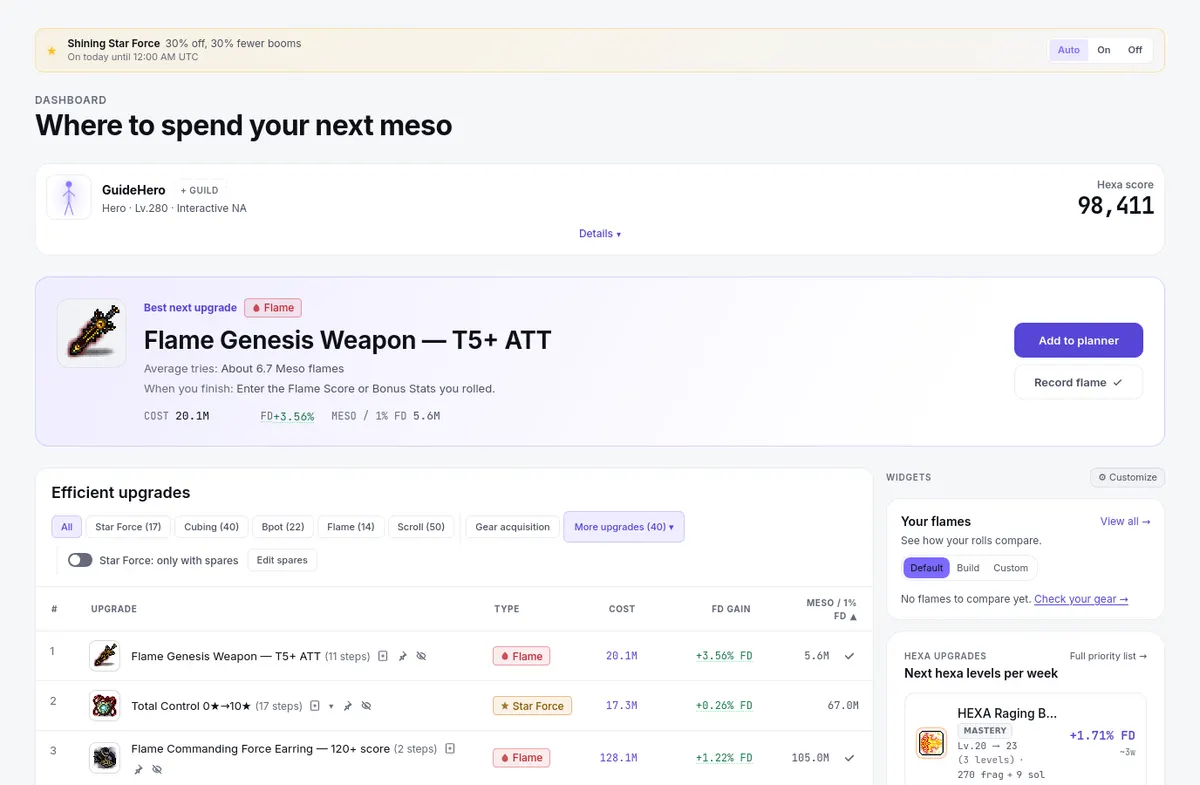
The Dashboard: the Hexa score, Best next upgrade with Add to planner, then the Efficient upgrades list with Cost, FD Gain and Meso / 1% FDThe Dashboard: the Hexa score, Best next upgrade with Add to planner, then the Efficient upgrades list with Cost, FD Gain and Meso / 1% FD

Chips above the list filter by upgrade type: Star Force, Cubing, Flame, and on Interactive Bpot and Scroll. Gear acquisition is its own view of next-tier items you do not own yet, listed under Not owned yet and never ranked against upgrades. On Interactive it ranks purchases by meso per 1% FD and lets you edit each item's price in place; on Heroic it shows no price. Each row says how to Get it, and where a timeline exists a Wait. Multi-step chains label each row "Next step" or "Step 2 — after 1 earlier". Waits for pity and coin-shop items come from the boss runs and spare counts you recorded on the Income page; a row missing one of them names it and offers a button, such as Add Whisper Crystals, to enter it in place.

The Star Force: only with spares switch hides Star Force rows your spares cannot cover. A note under the list counts them ("N Star Force upgrades hidden: not enough spares."), Show them turns the filter off, and Edit spares opens your counts in place. The Shining Star Force bar at the top of the Dashboard has Auto, On, and Off: Auto follows the event schedule, and every Star Force price on the site moves with it.

The list sharpens as your inputs fill in: class, level, stats, gear, and prices all feed it.
Marking rows done

  1. Perform the upgrade in game first — buy it, roll it, or scroll it.
  2. Pick Mark as done on the row, or Record flame, Record roll, Record scrolls, Record lines, or Record stars where those options apply.
  3. Enter the result you actually got. Random outcomes are not promised to land on the plan — if a roll came out different or cost more, record that instead.
  4. The row updates your build and totals, a pinned planner row for it clears, and the next recommendation takes its place.

That closes one lap of the loop: set up → review gear and HEXA → check Settings prices and events → read Dashboard recommendations → Add to planner → perform in game → record the actual result.

Common first mistakes

  • Skipping the review step. A wrong class or an unchecked preset spreads through every later number — verify whatever was filled in for you.
  • Entering final stat totals in the Base fields. The base/%/flat split is covered in Character setup; getting it wrong skews damage math everywhere.
  • Marking done before performing it. Record the copy you actually hold, not the copy the plan described.
  • Sharing before saving. A share link shows one moment; keep your saved copy current first (see Save, share & privacy).

Next: Character setup for what goes in each field, or the Planner guide to sequence the list.