Open Boss with your current character loaded. The four tabs answer different questions:
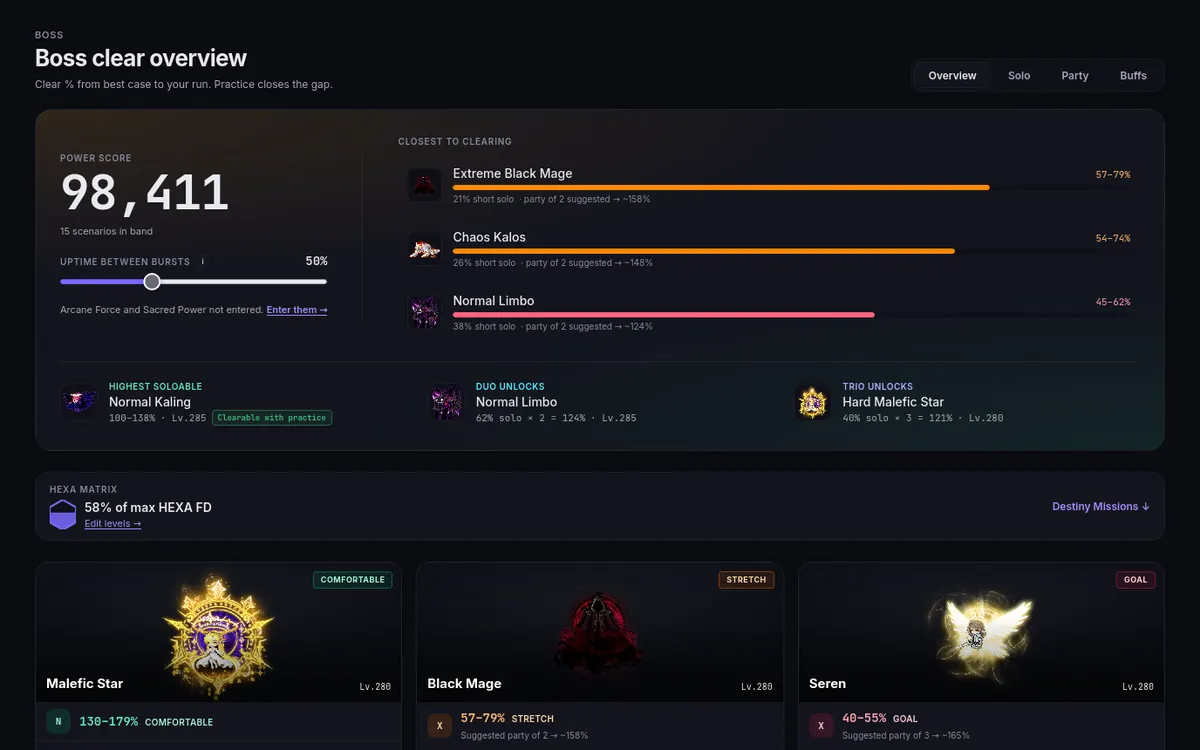
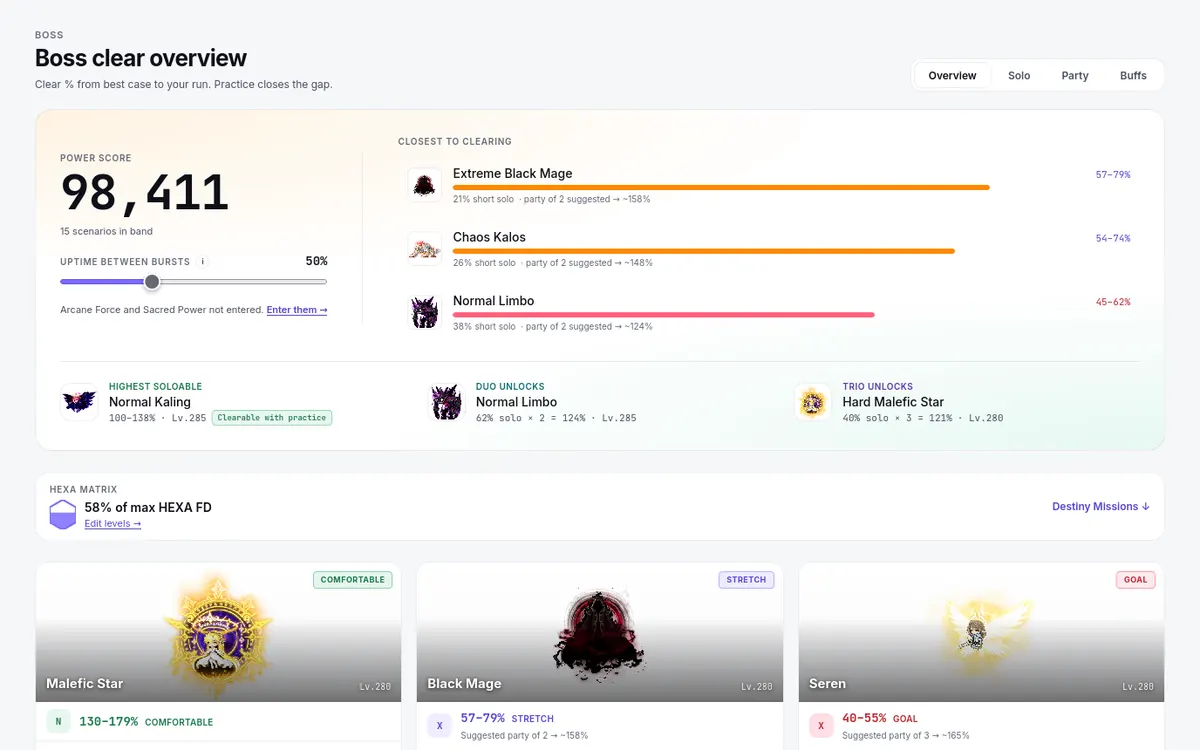
- Overview compares estimated clear percentages across bosses and suggests party sizes. Your Power Score and an Uptime between bursts control sit at the top, and a Destiny Missions checklist follows the boss grid.
- Solo (the Fight calculator) shows effective power score, clear comfort, and burst damage against boss HP.
- Party (Party projection) lets you explore a group rather than your solo build.
- Buffs (Buffs & links) holds the buff and link-skill toggles used by the estimates.
Choose the boss and difficulty in the relevant view, then review the character, party, and buff assumptions. Clear percentage is an estimated damage/clear-capacity measure, not a probability of winning the fight. Read the comfort labels alongside it: mechanics, uptime, and actual execution can change your result.
Every clear estimate is a range, such as 21:10–26:05 or 74–88%: the best case (attacking the whole time between bursts) to your run. Uptime between bursts sets your run; it starts at a typical 50%. To set it from real results, open Match my clears in the Solo or Party view and enter a clear time; the site finds the uptime that matches it and offers to use it. A row tagged Clearable with practice clears at the best case but not on your run. The party size on a row is a suggestion; the percent shown is your solo figure.
If your power score is paused (see When the score is paused), these views show the reason instead of a clear figure. If a projection looks surprising, first confirm the selected character and boss. A reproducible mismatch with real clears is useful feedback; include the setup used to produce it.